 When guiding your clients through the process of installing their carpet, Kanga is there to help every step of the way. Our four installation methods make carpet installation easy, with guides to help you and your customers at every step.
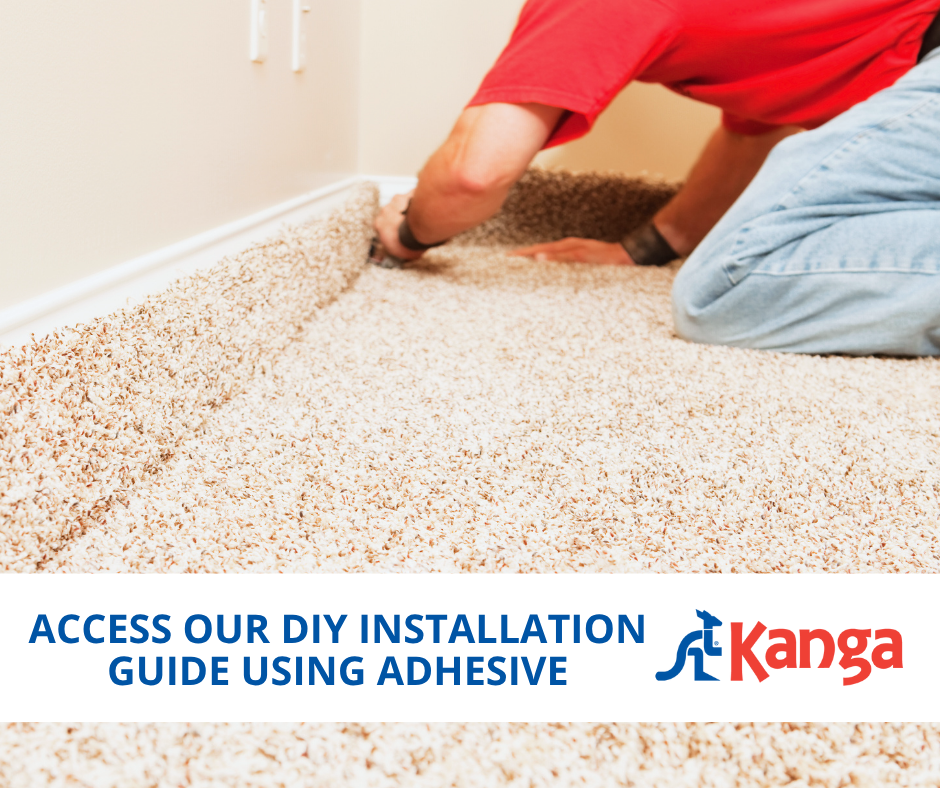
Installation with Adhesive
With KangaBACK attached cushion carpets that are easy to handle, installation is easy and straightforward for both professional installers and DIY enthusiasts.
Any high-quality multi-purpose adhesive can be used with Kanga products for adhesive installation. Be sure to provide proper ventilation, follow the manufacturer’s instructions, and consider the following:
- If possible, pre-cut the carpet 4”- 6” larger than the room’s size.
- Only a 6” to 9” border of adhesive is required around the perimeter, and a path from one corner to the other forms an “X” shape.
- Center the carpet piece in the room, allowing 2”- 3” excess to run up the walls.
- Following the manufacturer’s instructions, apply the adhesive to the floor. Start by forming a perimeter, then a “V” in the center of the room.
- Use a putty knife to crease the carpet between the floor and wall.
- Use a utility knife to trim the excess carpet.
- Clean any smears of adhesive on the carpet surface quickly with water and a clean cloth.
Check out our step-by-step guide for more information on adhesive installation here >
Contact our experts for more information on installation options >