Installation with Staples
It’s easy this way, too! Tools you will need are: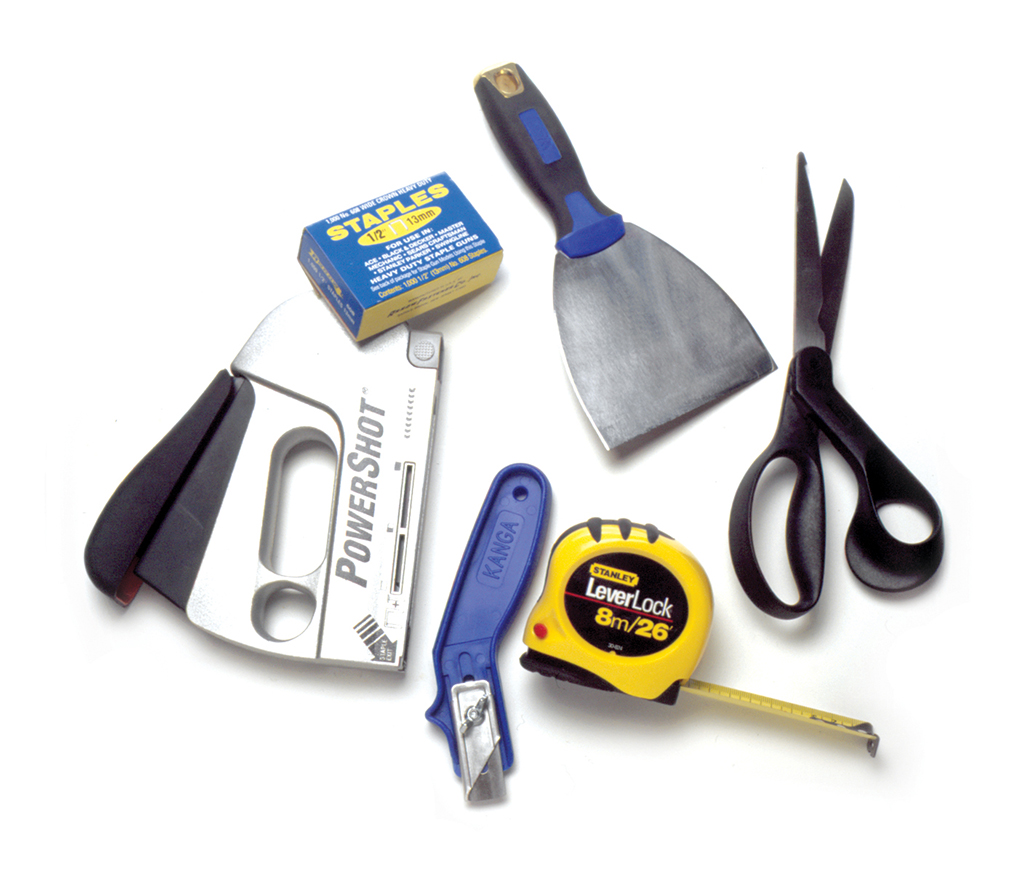
- Utility Knife with extra blades
- Stiff Putty Knife
- Measuring Tape
- Scissors
- Staple Gun
- Heavy Duty Staples (1/2” minimum)
Step One: Prepare the Room
- Remove all furniture and old carpeting
- Sweep and vacuum floor
- Remove doors
- Check room measurements
- If possible pre-cut the carpet 4”- 6” larger than room size (Note: No need to remove baseboards)
Step Two: Install the Carpet
- Center the carpet piece in the room allowing 2”- 3” excess to run up walls
- Smooth carpet from center of the room towards walls
- Staple to floor, as close to wall as possible
- Tap staples in with hammer if necessary as you go around the room
Step Three: Trim the Carpet
On the sides to be trimmed:
- Use putty knife to crease carpet between floor and wall
- Use utility knife to trim excess carpet
- Staple where needed
- Now enjoy your new carpet
Download an Installation Guide here for Staples
Tips:
- Be sure to measure to the center of doorways and to the back of closets
- If you have to make a seam, do it first! (see seaming section)
- To save steps, if one wall has no thresholds or projections, butt the carpet up to the wall and trim the other three sides
- When cutting carpet, use sharp blades and hold the knife almost parallel to the floor while cutting in the crease
- Door bottoms may have to be trimmed to allow for clearance once carpet is installed
- Use heavy duty staples a minimum of 1/2″ long
- Use no more staples than necessary to securely hold carpet
- On hardwood, it may be necessary to tap the staple with a small hammer to drive the staple in fully – do this as you go